Publishing A Game
Publishing your Core project opens it to the world for testing and feedback, as well as building community familiarity with your game and brand. You can decide if your project is ready to be published with the Publishing Checklist.
Publish from the Core Editor
- Open your project in the Core Editor
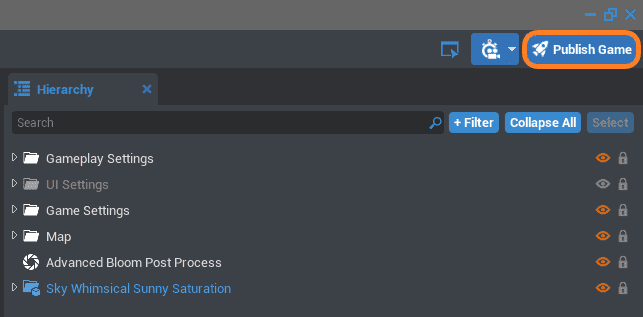
- Click the
 Publish Game button in the top right corner of the editor.
Note
You can also publish from File > Publish.
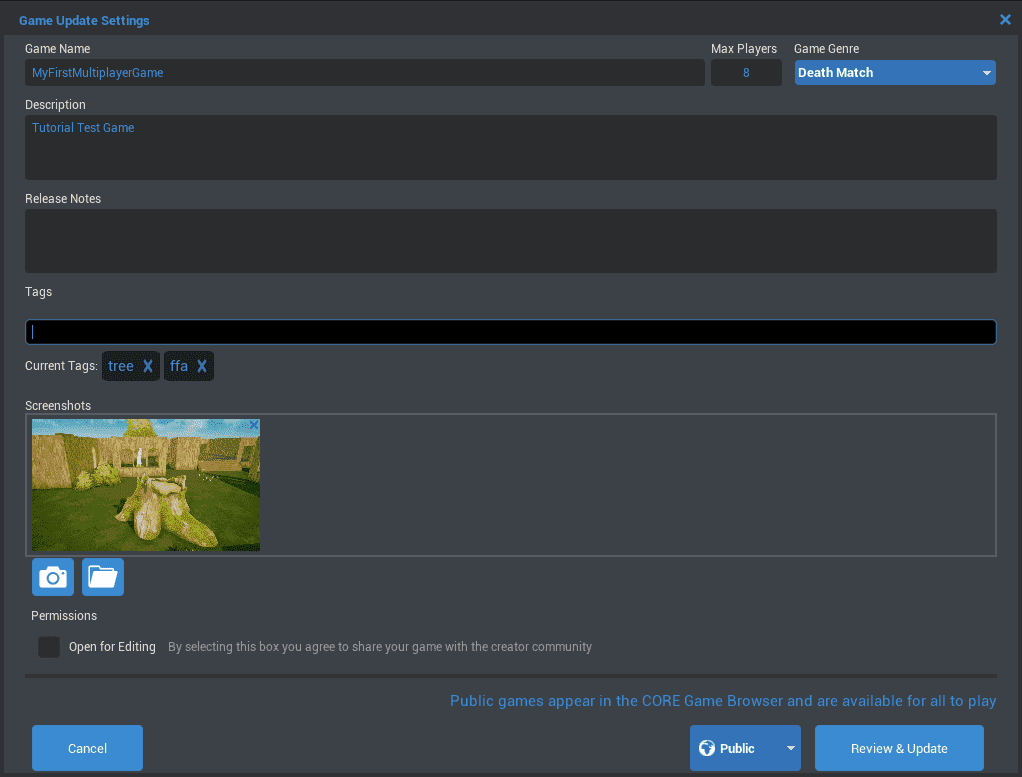
Fill Out the Description
Good game information is essential to helping players find your game and understand what it is.
- Give your game a name.
- Write a description.
- Add relevant tags.
- Take a screenshot for your game.
- You can take snapshots in-editor with the camera button.
- You can also select an image file from your directory via the folder button.
Info
Checking the Open for Editing box will allow other Core Creators to use a copy of your game as a starting point to make their own.
Scenes
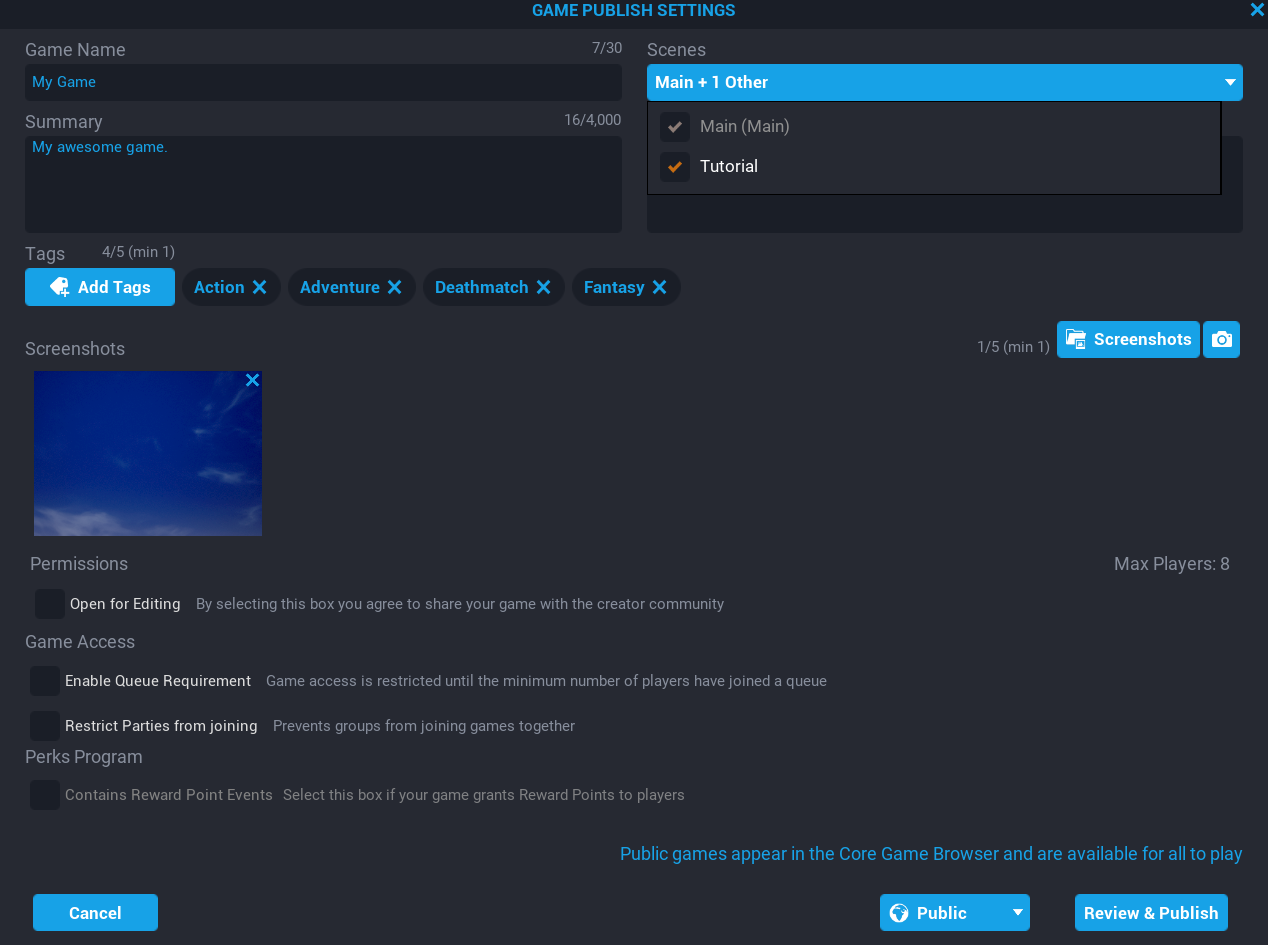
Publishing a game will allow you to select which scenes you want to publish. If no scenes have been created, then the main scene will be selected by default. If there are new scenes added to your project, those scenes will need to be ticked in the scenes drop down so that they are published.
The Game Publishing Settings window has a Scenes drop down where you can select which scenes should be included when publishing.
When publishing any scenes that isn't the main scene, Core will only publish the assets used for that scene.
Publish
- Click Publish in the bottom right corner.
- Anytime you are ready to update the published version of the game, you will need to republish using the Review & Update button.
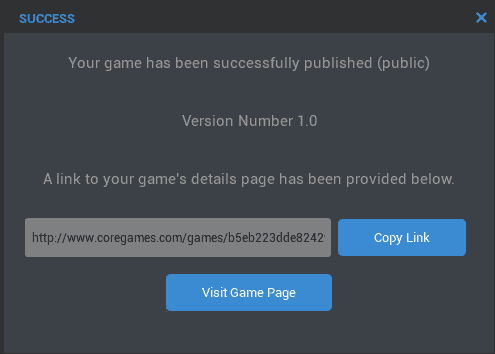
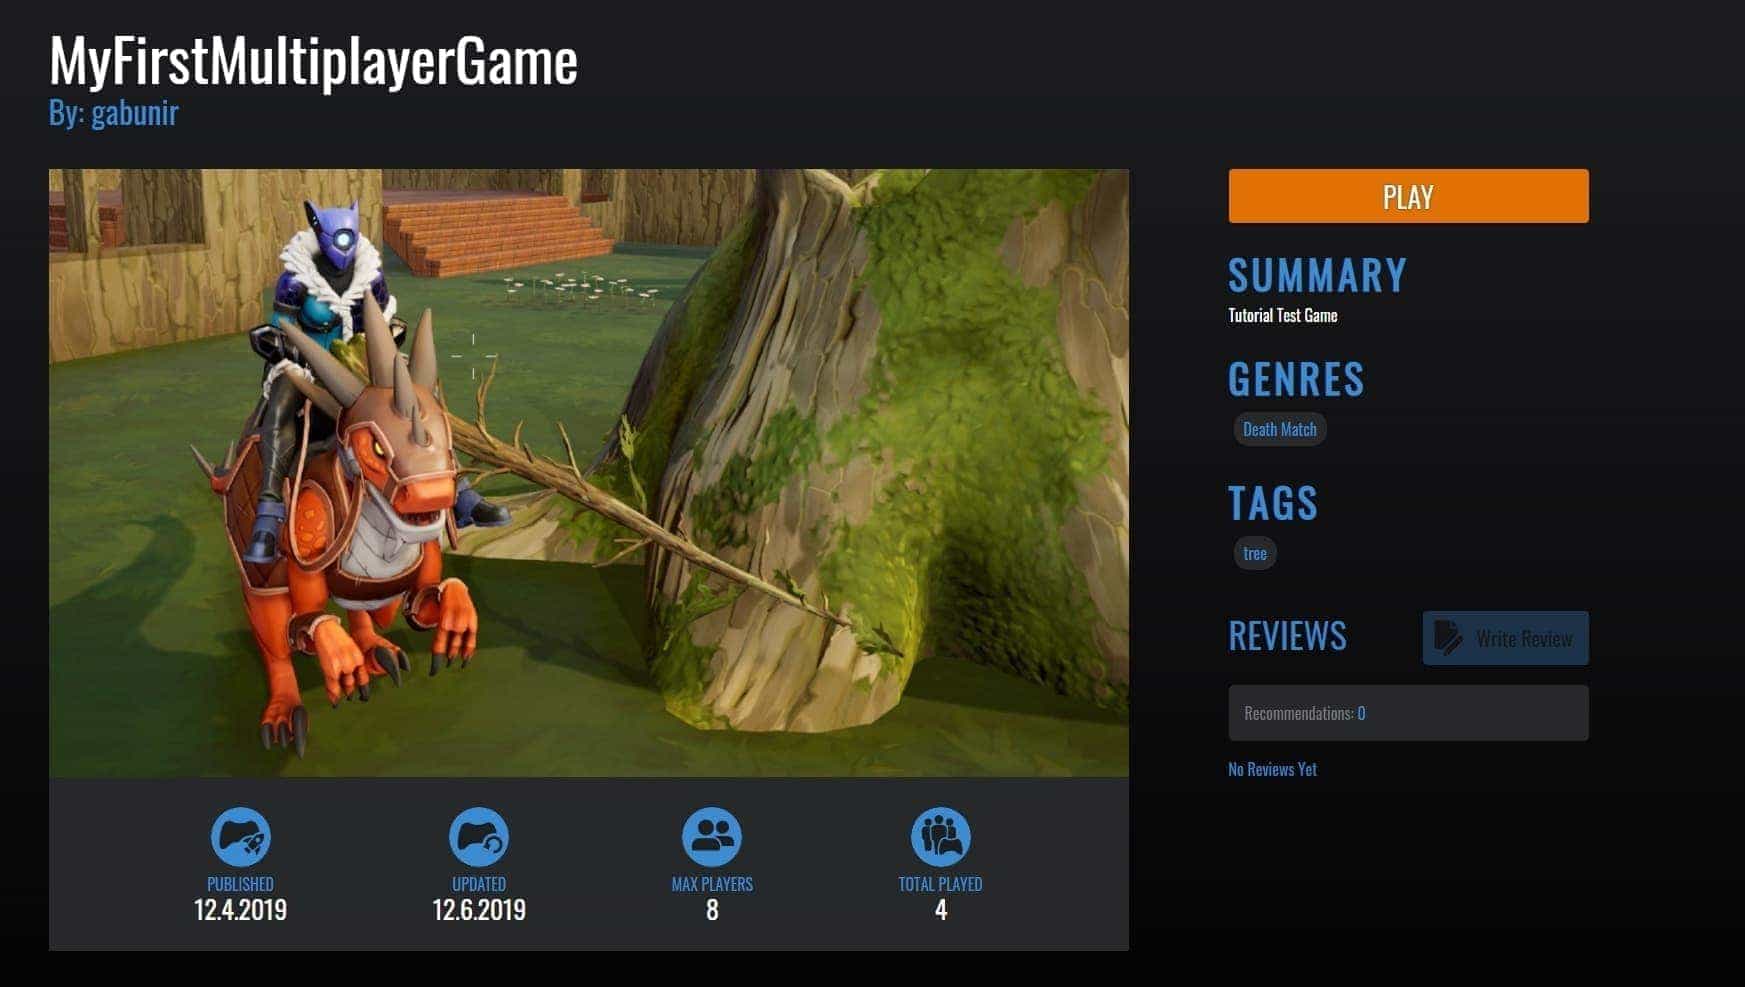
Success
Your game is now live. Visit your game's page in the Core Games tab to try it out online.
Learn More
Publishing Checklist | Sharing Templates